« Listing des missions:Histoire principale » : différence entre les versions
Aller à la navigation
Aucun résumé des modifications |
Aucun résumé des modifications |
||
| Ligne 7 : | Ligne 7 : | ||
{| border="1px" cellpadding="8px" cellspacing="0" height="100" padding-bottom:0.5em align="center" | {| border="1px" cellpadding="8px" cellspacing="0" height="100" padding-bottom:0.5em align="center" | ||
|- | |- | ||
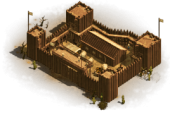
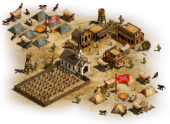
! style="background: #F5B555;" width="33%"| [[ | ! style="background: #F5B555;" width="33%"| [[Avant-poste | '''1- L'avant-poste''']] | ||
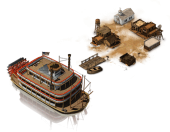
! style="background: #F5B555;" width="33%"| [[ | ! style="background: #F5B555;" width="33%"| [[Appel à l'aventure | '''2- L'appel à l'aventure''']] | ||
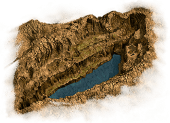
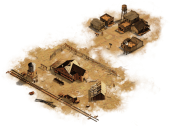
! style="background: #F5B555;" width="33%"| [[ | ! style="background: #F5B555;" width="33%"| [[Pas d'eau à Newport | '''3- Pas d'eau à Newport''']] | ||
|- | |- | ||
|align="center" |[[Fichier:Histoire principale - Partie 1.png | 170px | link= | |align="center" |[[Fichier:Histoire principale - Partie 1.png | 170px | link=Avant-poste]] | ||
|align="center" |[[Fichier:Histoire principale - Partie 2.png | 170px | link= | |align="center" |[[Fichier:Histoire principale - Partie 2.png | 170px | link=Appel à l'aventure]] | ||
|align="center" |[[Fichier:Histoire principale - Partie 3.png | 170px | link= | |align="center" |[[Fichier:Histoire principale - Partie 3.png | 170px | link=Pas d'eau à Newport]] | ||
|- | |- | ||
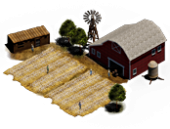
! style="background: #F5B555;" | [[ | ! style="background: #F5B555;" | [[En avant vers le Fort Mencer|'''4- En avant vers le Fort Mencer''']] | ||
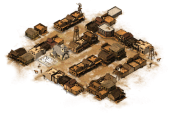
! style="background: #F5B555;" | [[ | ! style="background: #F5B555;" | [[Nord, le Sud et le brun|'''5- Le Nord, le Sud et le brun''']] | ||
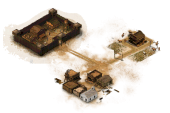
! style="background: #F5B555;" | [[ | ! style="background: #F5B555;" | [[Jouer à l'encontre des règles|'''6-Jouer à l'encontre des règles''']] | ||
|- | |- | ||
|align="center" |[[Fichier:Histoire principale - Partie 4.png | 170px | link= | |align="center" |[[Fichier:Histoire principale - Partie 4.png | 170px | link=En avant vers le fort Mencer]] | ||
|align="center" |[[Fichier:Histoire principale - Partie 5.png | 170px | link= | |align="center" |[[Fichier:Histoire principale - Partie 5.png | 170px | link=Nord, le Sud et le brun]] | ||
|align="center" |[[Fichier:Histoire principale - Partie 6.png | 170px | link= | |align="center" |[[Fichier:Histoire principale - Partie 6.png | 170px | link=Jouer à l'encontre des règles]] | ||
|- | |- | ||
! style="background: #F5B555;" | [[ | ! style="background: #F5B555;" | [[Il était une fois dans "The West"|'''7- Il était une fois dans "The West"''']] | ||
! style="background: #F5B555;" | [[ | ! style="background: #F5B555;" | [[Main gauche et la main droite du diable|'''8- La main gauche et la main droite du diable''']] | ||
! style="background: #F5B555;" | [[Libéré|'''9- Libéré''']] | ! style="background: #F5B555;" | [[Libéré|'''9- Libéré''']] | ||
|- | |- | ||
|align="center" |[[Fichier:Histoire principale - Partie 7.png | 170px | link= | |align="center" |[[Fichier:Histoire principale - Partie 7.png | 170px | link=Il était une fois dans "The West"]] | ||
|align="center" |[[Fichier:Histoire principale - Partie 8.png | 170px | link= | |align="center" |[[Fichier:Histoire principale - Partie 8.png | 170px | link=Main gauche et la main droite du diable]] | ||
|align="center" |[[Fichier:Histoire principale - Partie 9.png | 170px | link=Libéré]] | |align="center" |[[Fichier:Histoire principale - Partie 9.png | 170px | link=Libéré]] | ||
|} | |} | ||